ExtremeBallistic
The ExtremeBallistic is different, some setup is required up front so you can get perfectly reliable detection and superb accuracy.
- Read the safety instructions Safety First
- Assemble the unit if you have a kit:
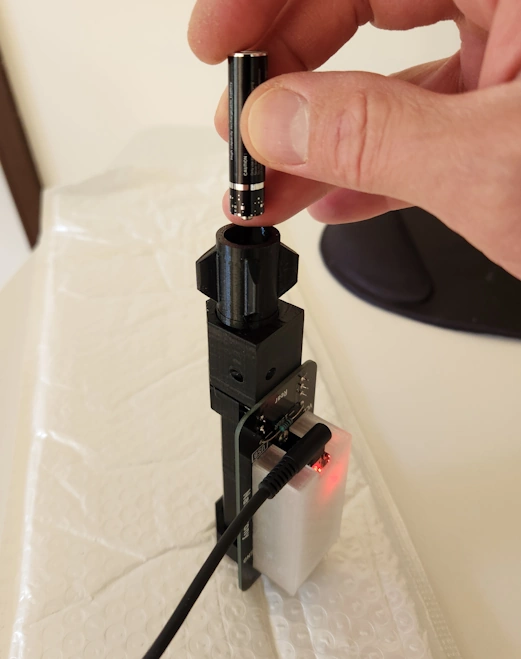
- Power up the unit with a USB cable and 5v USB power supply, in the location where you want to use it
- The unit SHOULD be display a red light & sensor error, as it must be calibrated
- Perform the calibration process:
- Remove the 2 top screws from the protection plate
- Remove the 2 side screws on the top cover
- Lift off the top cover
- Open your browser & access the NateChrony ExtremeBallistic page via one of the below methods:
- http://192.168.4.1
- http://extremeballistic
- http://extremeballistic.local
- On your deviceClick the “Click here to calibrate” link and follow the process/instructions
- Replace the top cover & put in the 2 protection plate screws
- Put in the 2 side screws on the top cover
- Enjoy reliable detection and accuracy!
Product information & instructions:
NateChrony and SteadyShot
Follow these steps to be able to test and get familiar with your NateChrony without having to mount it or fire a single shot!
-
Read the safety instructions Safety First
-
Power up your NateChrony with a USB cable and power supply
-
Connect your mobile/tablet/laptop to the Chrony WiFi network
-
Open your browser & access the NateChrony page via one of the below methods:
- http://192.168.4.1
- http://natechrony
- http://natechrony.local
- http://steadyshot
- http://steadyshot.local
- Use your camera with this QR Code:

-
Drop the test pellet through the NateChrony, its important to use the test pellet or something 7mm/30cal to ensure it triggers both sensors
-
It should read approximately 4fps, repeat the drop 2-3 times
-
You should see an alignment error, this is expected
-
If the pellet doesnt pass through quickly (>0.5fps), the chrony may detect a sensor issue & reset - make sure its dropped vertically and doesnt rattle about inside
SmartTarget
Follow these steps to setup and test your SmartTarget:
-
Read the safety instructions Safety First
-
Ensure the NateChrony SmartTarget cannot be struck by a projectile
-
Mount the SmartTarget to rear of the target surface
-
Mount the required accessories (if purchased) - antenna, external LEDs
-
The connection order of the LEDs is specified in the setup screen:
- 4/5 LEDs: bottom, (center), right, top, left
- 10 LEDs: 1&2 = eyes, 3-10 = antlers/sparkle
-
Setup the target into its location
-
Power up the unit, ensuring the power supply cannot be struck by a projectile
-
Connect your mobile/tablet/laptop to the SmartTarget WiFi network
-
Open your browser & access the NateChrony page via one of the below methods:
- http://192.168.4.1
- http://smarttarget
- http://smarttarget.local
- Use your camera with this QR Code:
-
Tap the target surface to ensure you get a successful hit detection
-
Perform the calibration process
Last Updated: 2026-02-01 09:59:59 +1000 +1000